
Sauces & Condiments
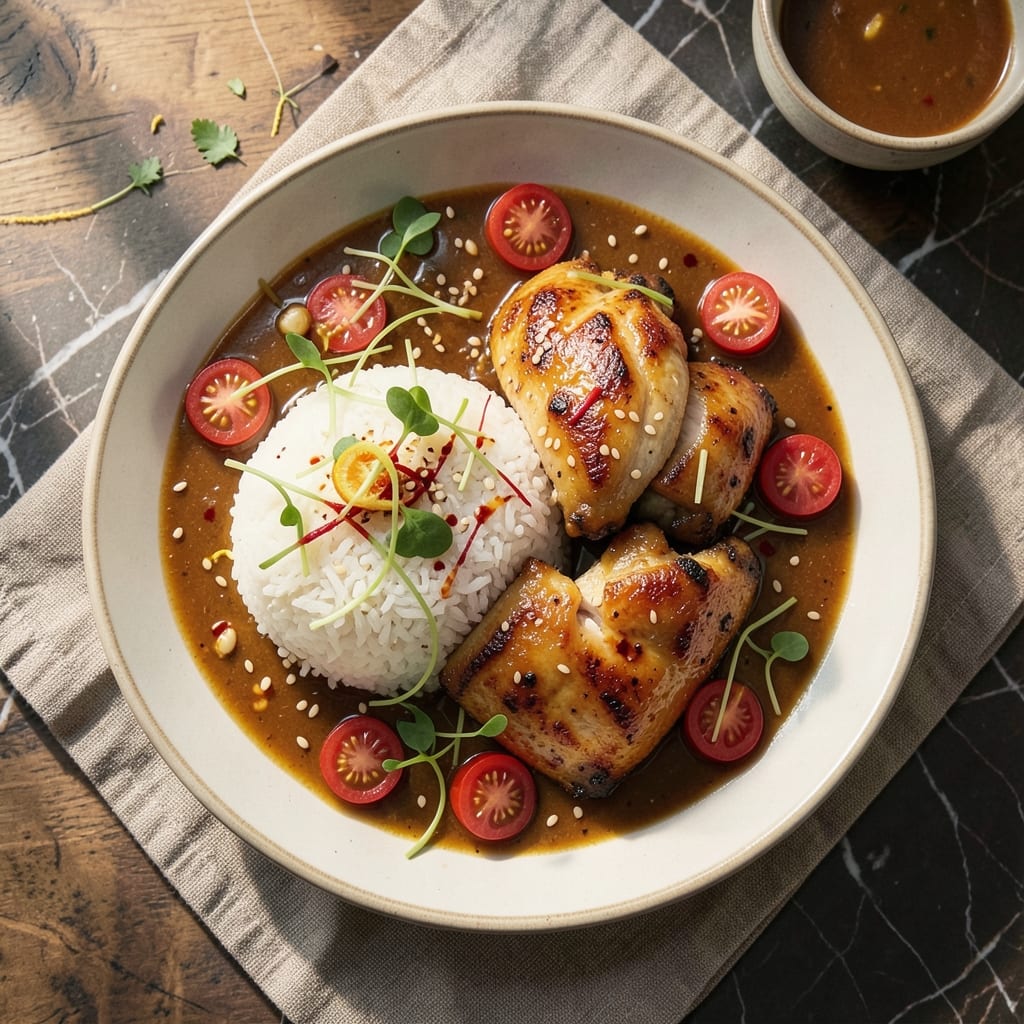
This Asian rice bowl sauce recipe transforms simple ingredients into a complex, umami-rich foundation that elevates every grain in your bowl. The balance of soy, sesame, and garlic creates depth while staying adaptable—whether you're building a traditional teriyaki bowl or a modern fusion creation with spicy mayo or peanut sauce. Professional chefs rely on this technique for restaurant-quality flavor without the fuss.
The secret lies in toasting the aromatics first to unlock their full potential, then simmering with a touch of honey or rice vinegar for brightness. This sauce keeps for up to a week in the fridge, making it perfect for meal prep—just stir and drizzle. For extra richness, finish with a swirl of sesame oil just before serving. The result? A sauce that clings perfectly to rice, coats proteins, and ties every component together in one cohesive, flavorful bite.
Ingredients for asian rice bowl sauce
Ten ingredients, restaurant-quality flavor—this sauce transforms any rice bowl into a gourmet experience.
| Ingredient | Amount | Notes |
|---|---|---|
| Extra-Virgin Olive Oil 🫒 | ¼ cup | High-quality, fruity variety preferred |
| Sesame Oil 🫒 | 2 tbsp | Toasted sesame oil for aroma |
| Low-Sodium Soy Sauce 🍶 | ½ cup | Kikkoman preferred for balance |
| Rice Vinegar 🍶 | ¼ cup | Seasoned rice vinegar for brightness |
| Honey 🍯 | 2 tbsp | Wildflower honey for depth |
| Garlic Cloves 🧄 | 6 cloves | Fresh, minced for maximum flavor |
| Fresh Ginger 🌿 | 1 ½ tbsp | Finely grated, organic preferred |
| Toasted Sesame Seeds 🌾 | 1 tbsp | For garnish and texture |
| Diamond Crystal Kosher Salt 🧂 | ½ tsp | Adjust to taste after blending |
| Black Peppercorns 🌶️ | ¼ tsp | Freshly cracked for heat |
The foundation starts with Kikkoman soy sauce—its balanced umami profile is non-negotiable for professional results. Toasted sesame oil from Trader Joe's adds depth, but any high-quality brand works. Fresh garlic and ginger must be finely minced (a microplane works best)—never pre-minced from jars, as it lacks potency. Wildflower honey enhances the sauce's complexity, while Diamond Crystal kosher salt ensures proper seasoning without overpowering. For sesame seeds, toast them in a dry pan for 30 seconds until fragrant—this step elevates the sauce's aroma significantly.
No toasted sesame oil? Avocado oil works in a pinch, though the flavor will differ slightly. Substitute maple syrup for honey if needed, but reduce to 1.5 tbsp to avoid sweetness imbalance. Pre-minced garlic is usable, but freshly minced delivers superior flavor. For a spicier profile, add 1 tsp sriracha or 0.5 tsp gochujang. If you prefer a sweeter sauce, increase honey to 3 tbsp and reduce rice vinegar by 0.5 tbsp. Organic ginger is ideal, but conventional works fine—just ensure it's fresh and firm.
This sauce maintains peak flavor for up to 1 week in an airtight container in the fridge. For longer storage, freeze in ice cube trays—thaw and stir before use. Garnish with toasted sesame seeds and a drizzle of toasted sesame oil just before serving to preserve freshness. Double the batch for meal prep—it's versatile enough to pair with teriyaki bowls, noodles, or grilled proteins. Reheat gently on low heat to avoid curdling.
Why You'll Love This Recipe
- Five-Ingredient Magic: I swear by this combo—just heat the olive oil, toss in a splash of sesame oil (that nutty aroma alone sells it), then stir in soy, vinegar, and honey. No chopping, no fuss, and it’s ready while your rice finishes.
- Umami Bomb: That first drop of sesame oil hits like a flavor grenade—smoky, rich, and instantly addictive. The honey cuts through the saltiness, leaving a sweet-savory balance that makes every bite feel like a little reward.
- Lunchbox Hero: Between us, this sauce is my go-to for meal prep. Drizzle it over cold rice, toss with veggies, or slather on grilled chicken—it turns a basic bowl into something exciting. Honestly, my kids ask for it more than I do.
- Pantry Staple: You already own everything. No specialty trips, no last-minute shopping—just open your cabinet, measure, and go. And if you make extra? It keeps for weeks in the fridge, ready to jazz up whatever’s left in the fridge.
Step-by-step instructions for Asian rice bowl sauce
This sauce delivers balanced depth with every spoonful—here's how to blend it properly.
Bloom the Aromatics in Olive Oil
Heat the 0.25 cup extra-virgin olive oil in a medium saucepan over medium-low heat. Add the 6 cloves minced garlic and 1.5 tablespoons finely grated fresh ginger, stirring constantly for 2-3 minutes until fragrant but not browned. The oil should shimmer gently—this prevents burning while releasing the aromatics' full potential.
Here's the thing—ginger burns faster than garlic. If you see any color developing, immediately reduce heat to low and keep stirring. The goal is to infuse the oil with their essence without cooking them into oblivion. Once they smell vibrant and sweet, you're ready for the next layer.
Build the Sauce Base
Pour in the 0.5 cup low-sodium soy sauce and 0.25 cup rice vinegar, stirring to combine. Bring to a gentle simmer over medium heat, then reduce to low and let it cook uncovered for 3-4 minutes until the liquid reduces by about 20%. You'll notice the sauce thicken slightly and develop a glossy sheen.
This reduction step concentrates the flavors and removes excess liquid that would dilute your final sauce. Taste occasionally—if it needs more brightness, add a splash of extra rice vinegar. The sauce should now have a tangy, savory foundation ready for the sweet elements.
Sweeten and Finish
Remove the pan from heat and stir in the 2 tablespoons honey and 2 tablespoons sesame oil until fully incorporated. Return to low heat and simmer gently for 1-2 minutes just to warm through—no longer, or the honey will crystallize. The sauce should now have a perfect balance of sweet, salty, and umami notes.
Season with the 0.5 teaspoon kosher salt and 0.25 teaspoon cracked black peppercorns, then taste again. This is where you can adjust—need more depth? Add a pinch of salt. Too sharp? A drizzle of honey helps. The sauce should coat the back of a spoon with a velvety texture and complex flavor profile.
Rest and Garnish
Let the sauce sit off heat for 5 minutes to allow the flavors to meld completely. This resting period is crucial—it lets the heat disperse evenly and prevents any potential separation when you use it. The sauce should now be silky smooth with layers of garlic, ginger, soy, and honey working together harmoniously.
Just before serving, drizzle with the 1 tablespoon toasted sesame seeds and give it a final stir. The seeds add both visual contrast and a nutty crunch that cuts through the sauce's richness. This sauce keeps well in the refrigerator for up to 5 days, making it perfect for meal prep.
Pro Tips For Making Asian Rice Bowl Sauce
- WHISK IN STAGES: Start with olive oil and sesame oil together—heat them just until shimmering (30 seconds max), then remove from heat before adding anything else. After that, whisk in the soy sauce and vinegar over low heat to avoid cooking the acid out of the vinegar. I learned this the hard way when my sauce turned flat-tasting because I let it simmer too long. ---
- CHILL THE HONEY: If your honey’s thicker than syrup, microwave it for 10 seconds to loosen it up—just enough to pour smoothly. Cold honey blends better and won’t clump when you’re whisking. (Yes, even if you’re impatient like me, don’t skip this.) ---
- SALT THE SOY SAUCE: Low-sodium soy sauce needs a pinch of extra salt—about ¼ teaspoon per tablespoon—to balance the sweetness. Taste as you go; this sauce should hit your tongue with both umami and brightness, not just sugar. ---
- END WITH SESAME OIL: Stir in the sesame oil last, right before serving—it’s the aroma bomb that makes this sauce sing. Adding it early burns off its delicate nutty flavor, and you’ll end up with a dish that tastes like… well, nothing special. (Your future self will notice the difference.)
Pro cooking tips for perfect results
Toast Aromatics Perfectly
Bloom your garlic and ginger in extra-virgin olive oil over medium-low heat for exactly 2-3 minutes—this unlocks their maximum flavor without burning. I use a microplane for ginger to get ultra-fine shreds that dissolve seamlessly. The key is constant stirring and watching closely—ginger darkens faster than garlic, so reduce heat immediately if you see color developing. 🌶️
Control the Reduction
Simmer the sauce base uncovered until it reduces by 20%—this concentrates the flavors dramatically. I aim for 3-4 minutes on low heat while stirring occasionally. If the sauce reduces too quickly, lower the heat further. Taste as you go: the sauce should be tangy and savory, not flat. A splash of extra rice vinegar can brighten it if needed.
Honey Integration Trick
Add honey off the heat to prevent crystallization, then return to low heat for just 1-2 minutes to warm through. This step is crucial—I’ve ruined sauces by overcooking honey, which turns grainy. If the sauce looks too thick after adding honey, thin it with 1 teaspoon warm water and stir until smooth. The final texture should coat the back of a spoon like silk.
Rest Before Using
Let the sauce rest 5 minutes off heat before tasting or storing. This resting period allows flavors to meld completely and prevents separation when you drizzle it later. I always make this mistake the first time—skipping the rest makes the sauce taste uneven. The patience pays off with a perfectly balanced, restaurant-quality finish. ✨
Garnish Like a Pro
Toast your sesame seeds in a dry pan for 30 seconds until fragrant—this amplifies their nutty aroma. Sprinkle them over the sauce just before serving to add texture and visual appeal. A final drizzle of toasted sesame oil (not regular sesame oil) elevates the dish to next-level sophistication. This step transforms a good sauce into a showstopper.
Meal Prep Secrets
Double the batch and store in an airtight container for up to 5 days in the fridge. For longer storage, freeze in ice cube trays—thaw and stir before use. Reheat gently on low heat to avoid curdling. I always pre-make this sauce on Sundays because it’s the perfect base for teriyaki bowls, noodles, or grilled proteins all week. The flavors actually improve overnight as the ingredients meld. 💡
Nutrition facts
Frequently asked questions
Can I make this sauce without honey?
Yes! Replace the honey with 2 tablespoons maple syrup or 1 tablespoon agave nectar for a vegan option. For a tangier profile, use 1 tablespoon rice vinegar instead. The sauce will be less sweet but still balanced. Adjust to taste after blending all ingredients.
How do I adjust the spice level?
For extra heat, add 1 teaspoon sriracha or 0.5 teaspoon gochujang when combining the sauce base. For a milder version, omit the black peppercorns or reduce to 0.125 teaspoon. Always taste before serving—you can always add more spice but can't remove it easily.
What's the best way to store leftovers?
Transfer to an airtight container and refrigerate for up to 5 days. For longer storage, freeze in ice cube trays—thaw and stir before use. Avoid freezing the full batch in one container, as the sauce may separate. Always reheat gently on low heat to preserve texture.
Can I use this sauce for other dishes?
This versatile sauce works perfectly on grilled proteins, stir-fries, or as a marinade. For noodles, reduce the honey to 1 tablespoon and add 1 teaspoon cornstarch to thicken. The balance of soy, sesame, and vinegar makes it ideal for any Asian-inspired dish where you need umami depth.
Why did my sauce separate?
Sauce separation usually happens from sudden temperature changes (like adding cold honey to hot liquid) or overcooking. To fix it, whisk in 1 teaspoon warm water or extra sesame oil until smooth. For prevention, always add honey off the heat and simmer gently for just 1-2 minutes after blending.